Security roles determine which system options will be available to each user. For example, an Administrator may have the ability to reset a password, but a Training Coordinator would need to make a request to an authorized administrator.
Note: The list of roles and permissions are specific to each system.
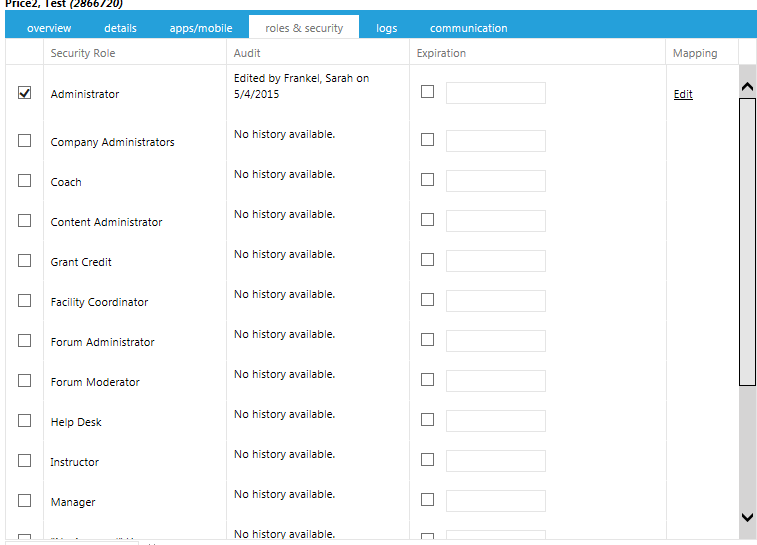
To assign a system role and security level for a user click the Roles & Security tab on the user's profile:
Click one or more check boxes on the left to assign a Security Role.
The Audit column shows when the role was last edited.
The Expiration column allows you to temporarily assign a security role to a user. Click the check box, then click inside the accompanying text box to either type an expiration date (MM/DD/YYYY) or select a date from the pop-up calendar that will appear.
Important: If a role needs an audience assigned, the Mapping column will have an Edit link. Click this link to apply this user's span of control to selected domains. If you forget to assign audience mapping to the role, the user will not be assigned the selected role.

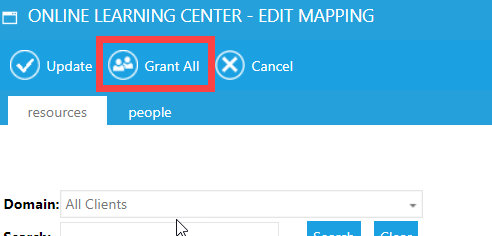
There are two options for mapping a security role: Resources and People.
The Edit link opens the Resources tab for audience mapping, which controls which courses the selected security role will be able to view on the Maintain Learning Resources screen. The security role resource mapping must match some form of the audience mapping on the resource in order for the administrator to view the resource. The resource audience mapping could be on the resource's primary audience tab, a secondary audience tab, a catalog or curricula. If any of these audiences match the administrator's resource mapping, then the administrator will be able to view the resource.
Example: The following security setting will allow the user to only see resources which are included in the sub-domains Admin, Best Practice and Demo within domain Department:

If the only audience mapping for a resource is within the Company domain, then this user will not see that resource because the security mapping was set on the Department domain and not the Company domain.
The "Grant All" option automatically maps the user to all levels of all domains thus ensuring that they will be able to view all resources regardless of the audience mapping on the resource.
The mapping on the People tab controls who the user can view throughout the system. For example only users within their people mapping will appear on reports, on the Manage Credit and Enrollment screen, and be accessible on enroll others and batch upload functions. Depending on your system configuration, it may also limit who can be viewed on the Maintain People and Security/ View Person screens.
Again, the "Grant All" option automatically maps the user to all levels of all domains thus ensuring that they will be able to view all users in the LMS.
Once you set the mapping, click Update. You will then need to click Save or Save and Close to save all your changes.